Windows!
The old windows in the house were not original to the structure. Additionally, a majority of them were beyond repair, having completely rotted through and been "repaired" numerous times with duct tape and Great Stuff. Almost every pane of glass was broken and falling out and panes (or pieces) would actually fall out in the middle of the night. Even the county's historical society had to agree, after seeing the state of these windows, that they needed to be replaced. After receiving permission from the county (which included a formal power point presentation before the committee), we purchased 24 Andersen Woodright Windows. This line of windows is geared toward those who want to keep with a historical look. They are gorgeous, and nothing like the cheap, vinyl replacement windows that so many people buy. Now that we have lived with these windows for a couple years, we have seen our heating bills halve. And that is no small bit of change. We saved $5,000 last year alone.
(And, even though we found no use for the old windows due to their condition, we brought them to the local antique store in case someone could find a use for them.)
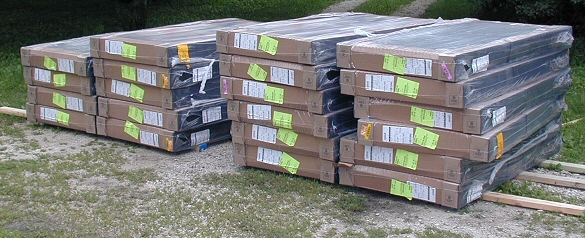
Delivery day:
The inside is unfinished maple.
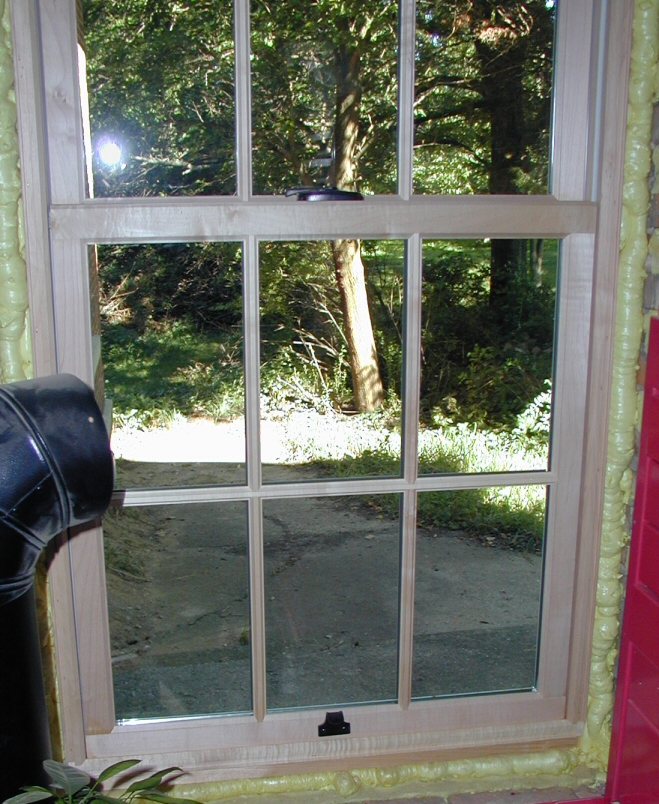
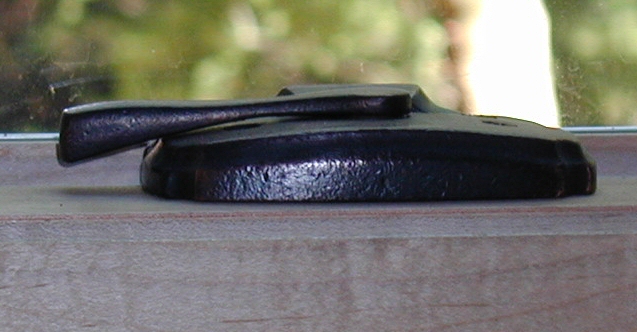
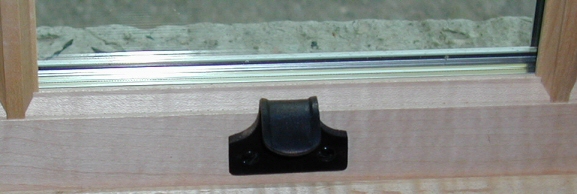
We also purchased distressed oil rubbed bronze sash locks and pulls.
The Andersen window was accepted by the county due to its close resemblance to actual historical windows. They have an all wood frame inside with horizontal joints, instead of mitered. They also have a nice simulated true divided light instead of just fake muntins inserted between the panes of glass.
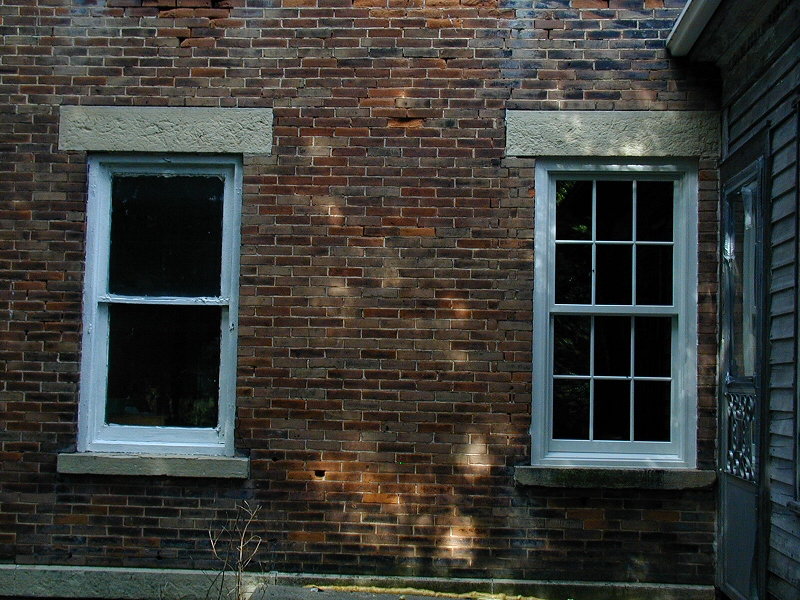
On the left is the "original" window, and the Andersen is on the right. We were very careful when ordering to make sure there would be the same amount of glass and trim as the original.
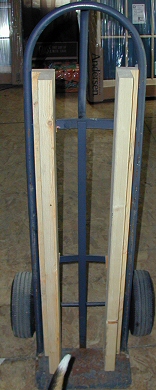
Custom made "window dolly" used to lug these heavy things up the stairs:
|
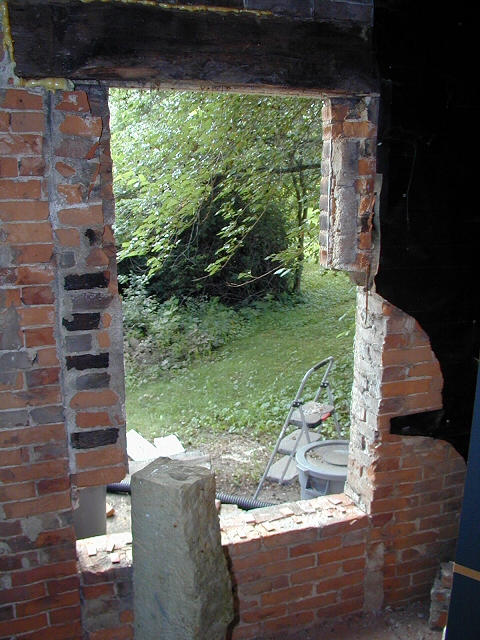
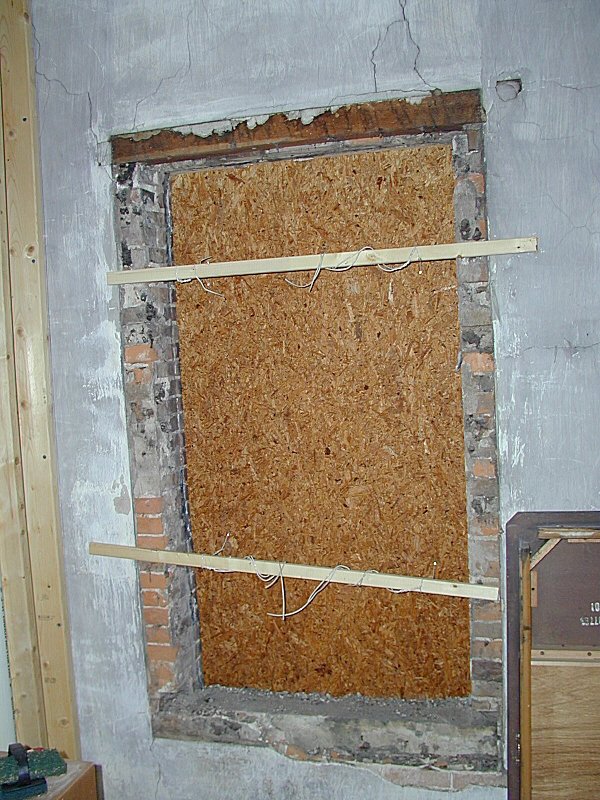
Steps for installation: 1) Remove old window and framing 2) Install new framing - screwing it into the masonry 3) Shim, then secure window into framing 4) Apply trim on outside. 5) Insulate with spray foam 6) Install custom hardware
(yet to be done) 7) Design and apply trim inside 8) Finish maple wood inside |
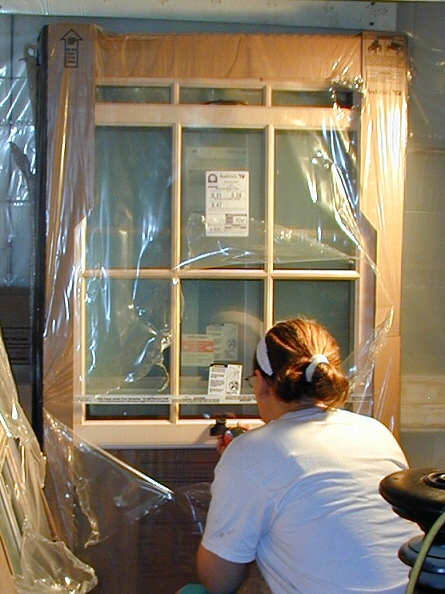
Wade designed his own method of installing these very heavy windows alone...and up on the second floor. It involved bracing the window into the hole, then installing from the inside.
Wade even had to insert a (very heavy) limestone sill to this kitchen window.