Roof
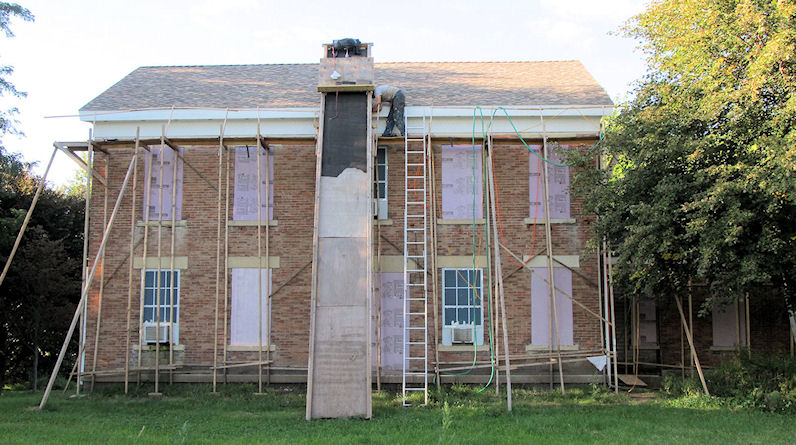
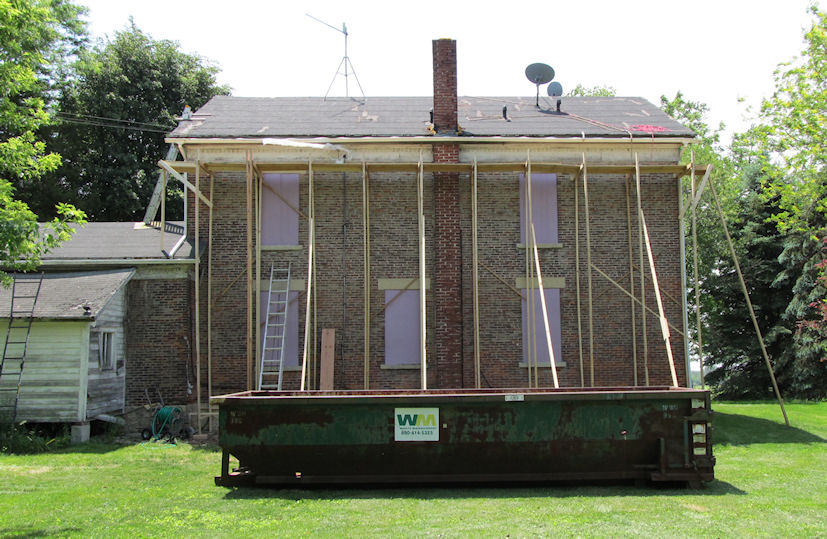
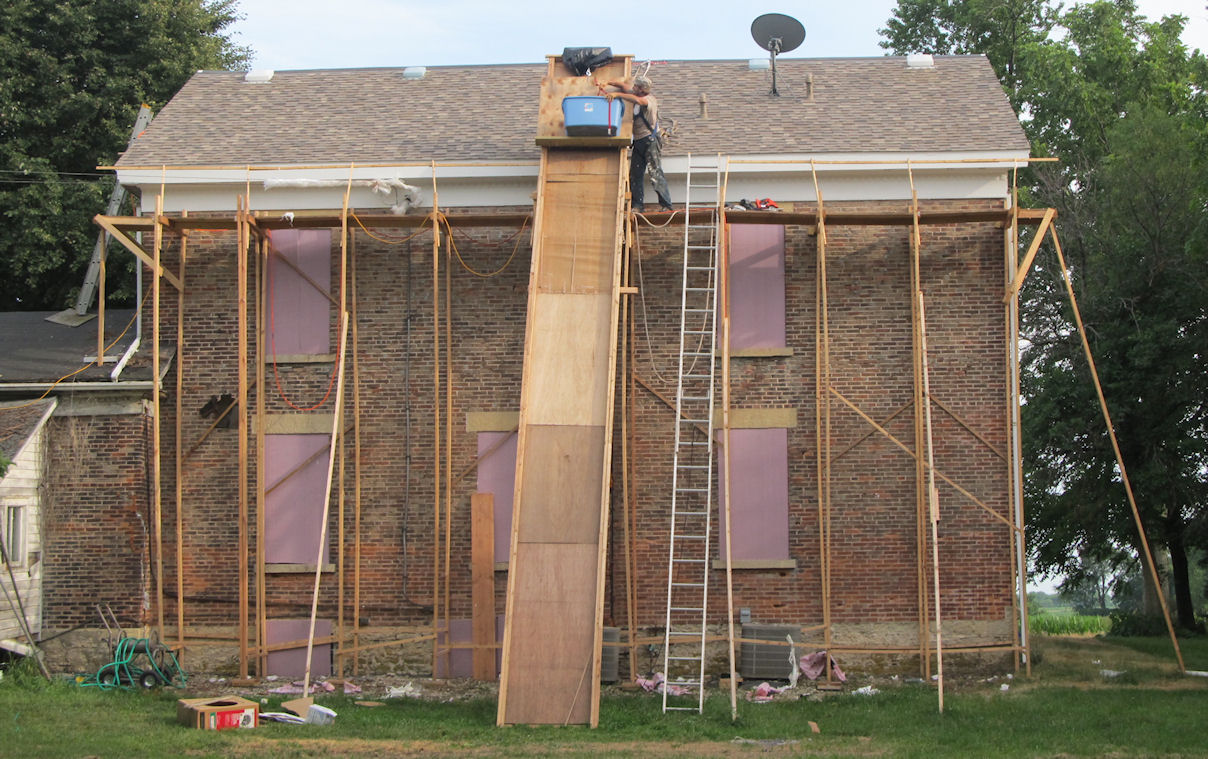
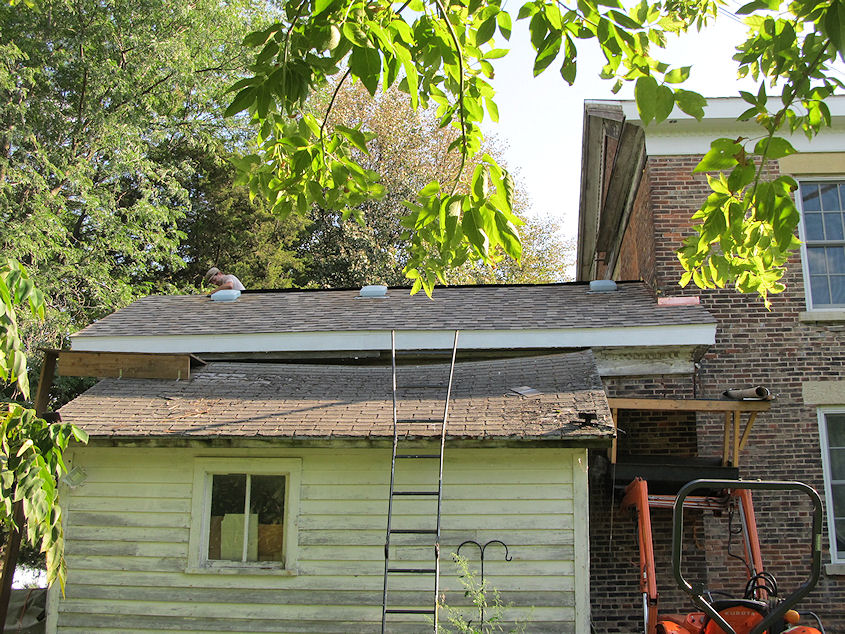
The first step, as with any project, is preparation. We built our own scaffolding and ordered a roll-off bin for the tear off. Also, we installed a chute of sorts to channel the waste into the bin. This chute doubled as a ramp used to winch up the heavy shingle bundles (seen in the picture below).
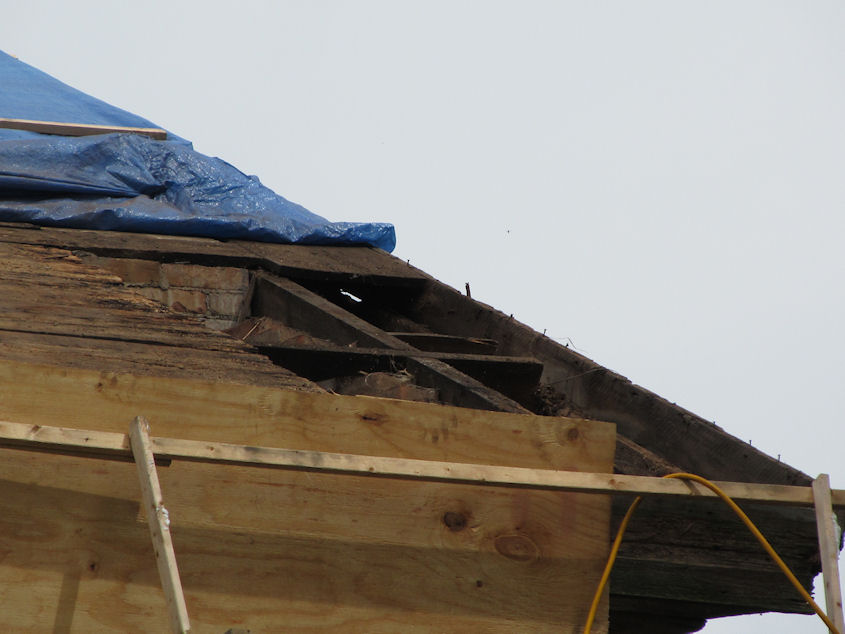
Next, tear off. This proved to be especially difficult given the number of roofing layers and the age of those layers. 1) Cedar 2) Asphalt shingles from 1969 3) Roll roofing. The '69 shingles would not pull off in sheets along with the nails because they were so brittle. This made the tear off process laborious and extremely time consuming. (Not to mention hard on the pants, of which we had to mend several pairs before the work was completed.)
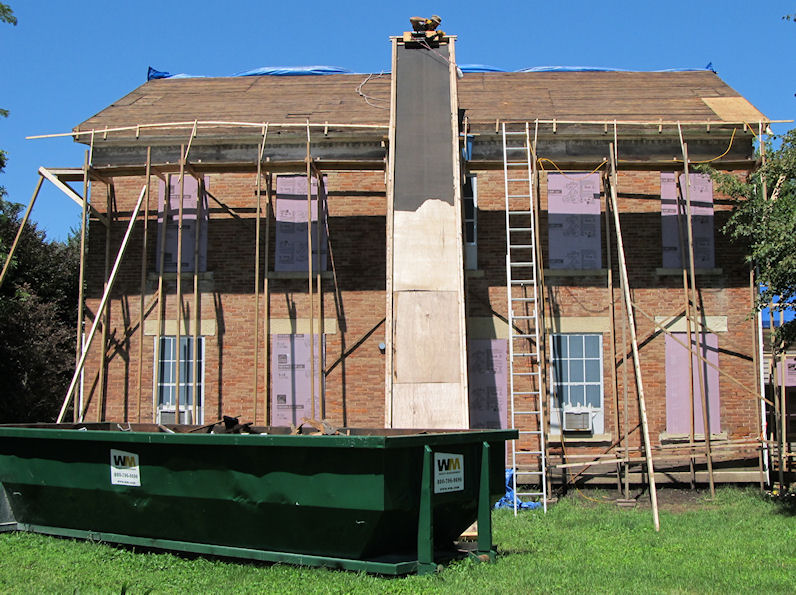
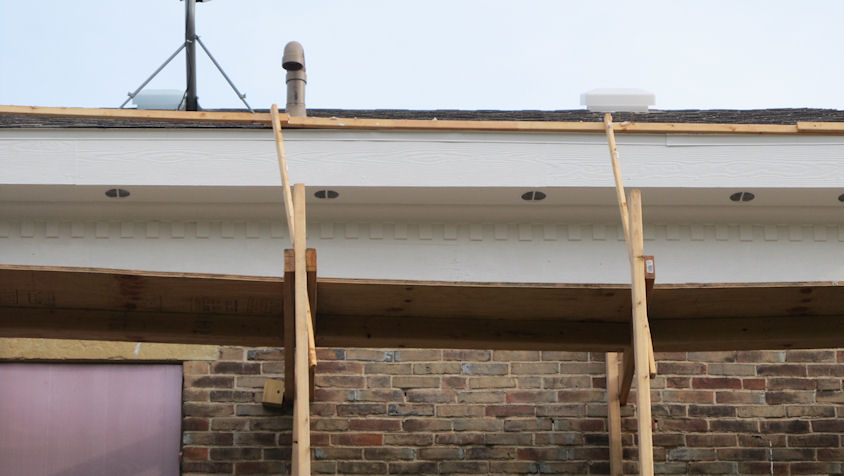
Of course, there was damage here and there to the wood, which we repaired. Additionally, in order to create a solid, gapless surface on which to nail the new product, we covered the roof in plywood panels.
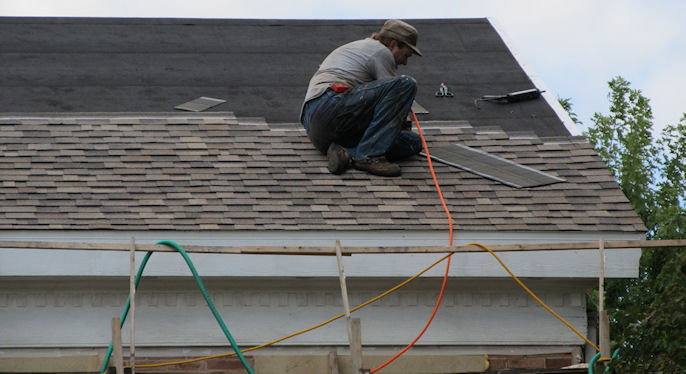
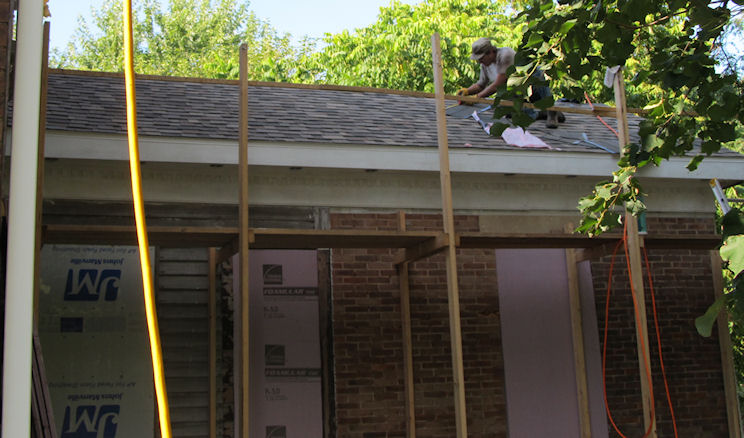
After that, came the asphalt ice shield, which we used along the entire roof. This particular product can stand alone as roofing for up to 6 months as the roof is finished. Once the drip edge is applied, we then applied the shingles.
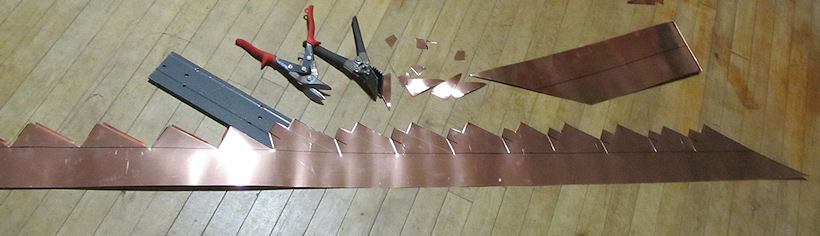
Here is the front and back of the kitchen. Notice on the right photo, the copper flashing. This was another custom piece to the job. The flashing is made of one single piece of material and actually bends into the mortar joints of the brick, ensuring a watertight seal. We used copper because aluminum will degrade if exposed to the lime mortar.
Finishing touches:
solar powered roof fan, translucent roof vents, soffit vents, repair and painting of the trim, gutters and gutter screens (not pictured here)...
...we moved the satellite dish to the back, where it cannot be viewed from the street, and moved the internet antenna to the back of the property. This helps to maintain the historic value of the home.